|
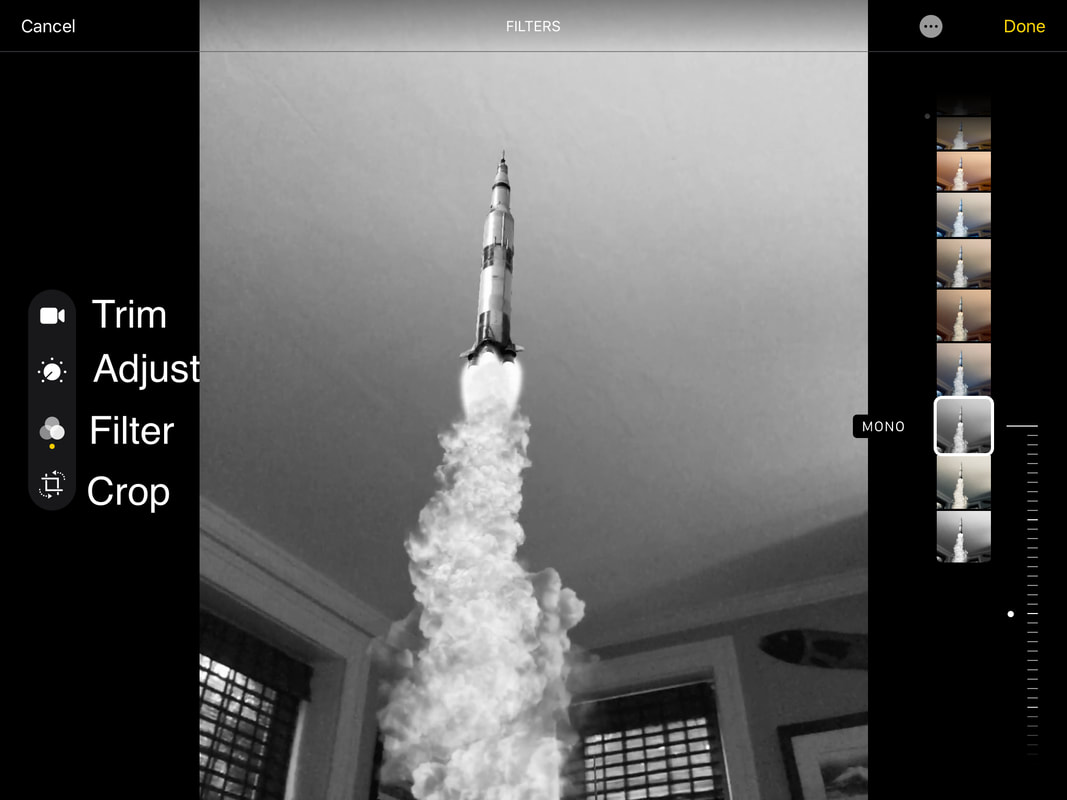
by Jessica Garrigan @jesgarrigan 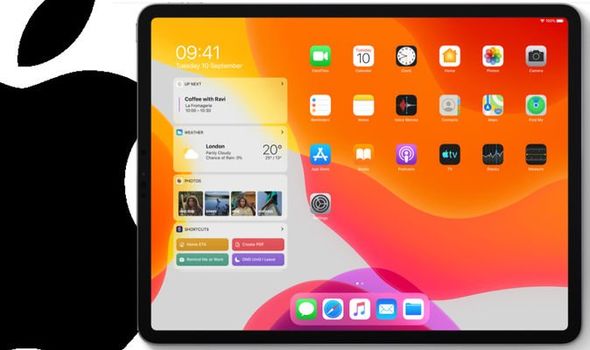 It's always an exciting time when Apple launches a new operating system (OS)! This September, Apple went above and beyond in creating iPadOS, an operating system designed specifically for iPads. No longer is the iPad "just a big iPhone"; iPad has really become a full blown computer, capable of creating anything you can imagine! In celebration of iPadOS 13, here are the Top 10 new iPadOS features we love! Check out this page for a complete list of all iPadOS updates. Thank you to Apple Support and Jacob Woolcock for these helpful videos! Activity Idea: iPadOS Musical Chairs Directions: Show the first video "Look What You Can Do with iPadOS". Assign each student or pairs of students (for larger classes) to each one of the new iPadOS features. Give them 2 minutes to master the new skill. Line up chairs facing each other and set your timer for 2 minutes. Instruct students to teach the student across from them the skill, 1 minute each. Move one row of students to the next chair and start the timer again. After everyone has shared, ask: which new feature will help you be more productive or creative? Share with a partner! iPadOS Video Collection - Add this link to your Schoology collection or Airdrop through Apple Classroom! #1: Dark ModeGive your eyes a break! Dark Mode is a dramatic new look that helps you focus on the work. The subtle colors and fine points of your content take center screen as toolbars and menus recede into the background. #2: Widgets on the Home ScreenWidgets have been around since iOS 8, but with iPadOS 13, widgets are becoming even more useful. There's a new Home Screen layout that features widgets in the left section of the screen, giving you more information at once, and you can pin specific widgets to be available at all times. Learn how! #3: The Files AppThe Files app is just like your "My Documents" on a laptop. It's where ALL of your files are stored, including your iCloud, iPad Storage, Google Drive, and any other file spaces you use. Anything you download from the web is conveniently stored in your Downloads folder! #4: Full Page ScreenshotsYou're reading a great article online and you want to screenshot it to annotated it. Now you can take a screenshot, tap "Full Screen" to annotated the whole thing! Use two fingers to scroll. #5: Text Editing Gestures You're friends will think you're magic with these new copy/paste gestures! Pinch in with three fingers to copy and pinch out to paste. Swipe left with three fingers to undo and right to redo. Save time once you master these new gestures! #6: Editing VideoWith iOS12, you could pretty much do one thing with videos - trim. Now you can adjust, filter, and crop your videos with iPadOS without needing an extra app! We've been waiting for this one for awhile!
#7: Multi-Tasking - Split ViewMultitask with Split view has some great updates, including being able to use the same apps side-by-side with Files, Notes, Keynote, Pages, and Numbers. This is worth mastering to help you be more productive and creative! #8: Multi-Tasking - Slide OverSlide Over got a make over too! Now you can slide over multiple apps and swipe between them! #9: New Mark Up ToolsThis has got to be my favorite! The new markup toolbar got some major upgrades including a built in ruler and floating, moveable toolbar. Markup works in Photos, Videos, Screenshots, and PDFs created in Safari. Anywhere you see the drawing tool, starting marking up! #10: Type FasterOk. I definitely haven't gotten used to this one yet, but some people LOVE IT! Pinch in on your keyboard to minimize it and start swyping! Which new iPadOS features is YOUR favorite for productivity and creativity? Comment below!
1 Comment
There’s no denying that the iPad is a revolutionary instructional tool. It is quickly changing the way we teach and the way our students learn. However, with access to thousands of apps and websites at our fingertips it can sometimes feel overwhelming! As we consider integrating technology in our classrooms, one of the easier (and less overwhelming) ways to start is to use the built-in front and rear-facing cameras. From documenting learning experiences to creating tutorials, the camera is one of my favorite iPad tools. Here are five ideas to start using the iPad camera in your classroom.
1. Document Camera: One of the easiest ways to use the camera is to take a picture of something you want students to view and share with your Apple TV. With pinch zooming, you can key in on particular parts of the text you want students to observe or discuss. Using the video camera, you can create a stand with a stack of books (or buy a fancy one on Amazon or one of these from Five Below or Walmart) and demonstrate a process or conduct a lab giving everyone a close-up view from their seats. 2. Annotate: After taking a photo with the iPad, you have the ability to mark up by writing directly to the image. Take a photo of your math warm up problem and save paper by marking up the image directly on you iPad. Even better, take a photo of your problem and send via the Classroom app to your entire class and have each student mark it up! Another option which helps encourage students to meet the ISTE Knowledge Constructor standard is to have students find real-world examples and then mark up the image to explain their thinking (Math Task example: find examples of geometric figures in the classroom. Use the camera to take a picture and use the mark up tools to diagram and explain. Literacy task example: Take a picture of an everyday object and use the mark up tools to personify the object. Write a story from the point of view of your character.) 3. Error Analysis: Take a picture of student work and display to your class using your Apple TV. Have groups of students discuss whether they agree or disagree and explain their thinking. Use the annotation feature to clear up misconceptions. 4. Screen Record: Using the screen record option, you can easily record a process and share with students. It can be as simple as explaining how to access a website to as complex as a tutorial on how to solve Pythagoreans theorem. Empower your students by having them create screen record videos to explain their thinking with the Notes App or Sketches School. 5. Documentation: The iPad camera is great for documenting student growth. Using the Notes App you can create a folder for each student and then input images or videos of student work. It’s a simple way to create a digital portfolio for your students. Students also have the ability to begin curating work and creating their own portfolios of learning using the same tools! By Wes Emlet On March 7, 2019 the McCaskey Computer Club visited the Conestoga View Nursing home as part of their new Cyber Senior program. Organized by Team Captain, Bryan Hower (Computer Science Wiz and Nearpod Certified Educator) students connected with the residents through the tools they know best – TECHNOLOGY. The team helped them learn how to get email, connect on Facebook, and also just gave them someone to talk to and share their stories. The students of the McCaskey computer club are connecting generations through technology! We are so excited to see how the McCaskey computer club continues to support our iPad roll out as well as continuing to support the community! Go Tornados!  Let's be honest, Flipgrid is all the hype right now. It's all over the Twittersphere. There are currently 20 million registered users across the world. 20 MILLION! That's huge in the ed tech world. When things become this trendy I tend to turn my head and as soon as we started doing Flipgrid reflections at every PD, I knew it was time for me to get out. I can be stubborn. I really don't (want to) like Flipgrid. As I've taken on the new role as Instructional Technology Coach at SDOL, it's given me the opportunity to visit so many classrooms. Recently, I visited two primary teachers who were sharing their use of Flipgrid with their students. As I talked with these teachers, I couldn't help but feel their pride as they shared their experiences. Similar stories of students who rarely participated in class who then transformed into fearless debaters when using this platform. Sharing and defending their opinions like the most vocal students in class. I also couldn't help but feel their excitement as they were sharing new and innovative ways they wanted use Flipgrid with their students; from creating digital portfolios to deepening thinking in math. These two conversations inspired me. The hype is real because Flipgrid is so much more than just a trend. It's empowering students and giving them a voice. It's something I wish I would have been less stubborn about and used more often when I was in the classroom. I feel like I can now confidently say that Flipgrid is life. 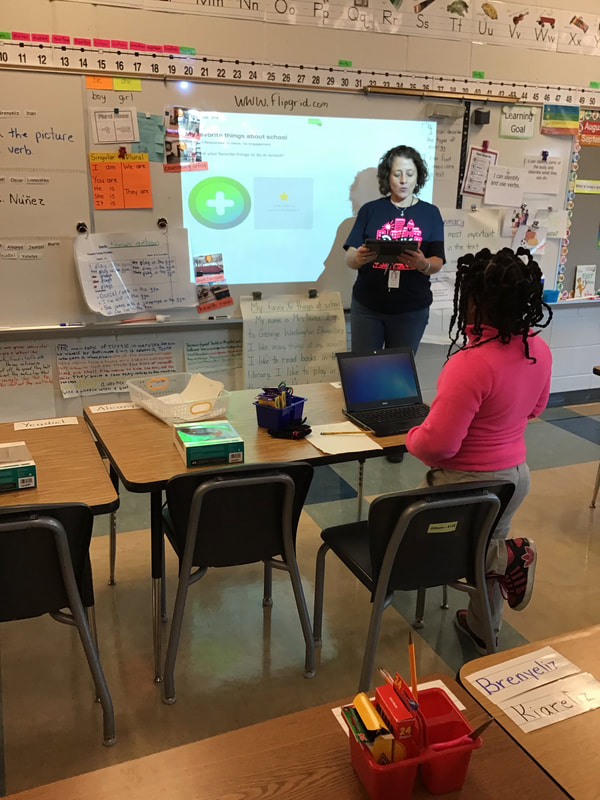 Jill Nunez, an EL Teacher from Washington using Flipgrid for students to share their all about me stories. by Wes Emlet
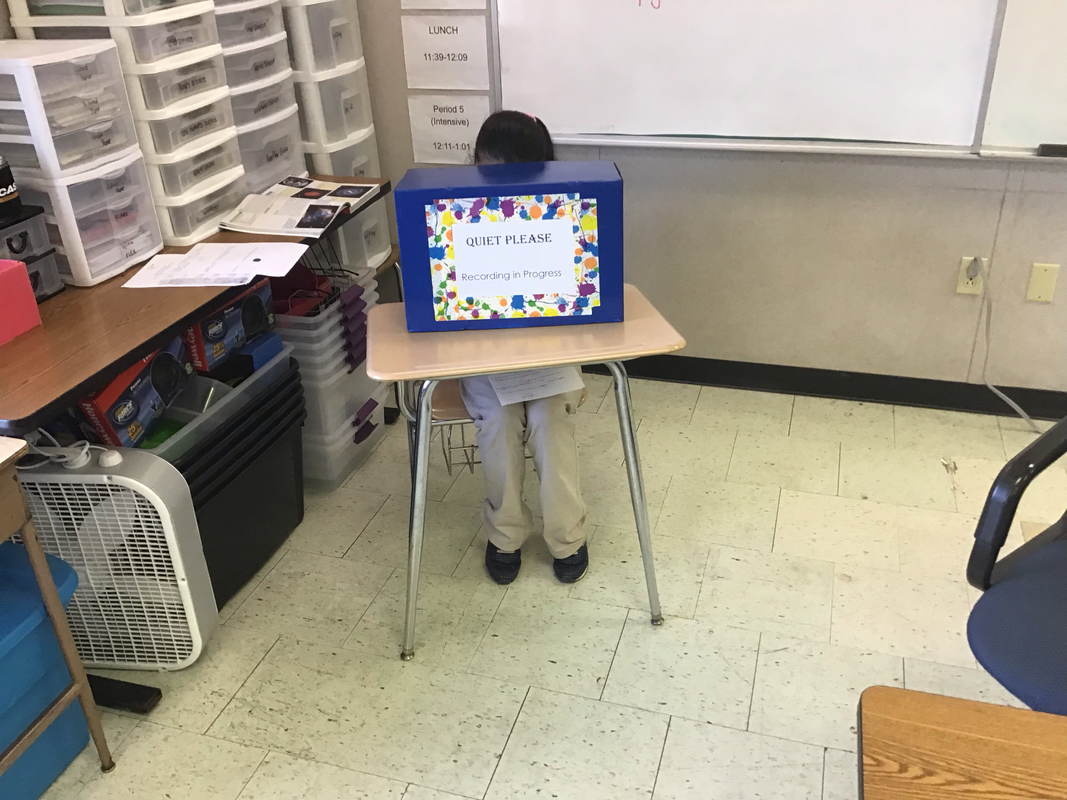
 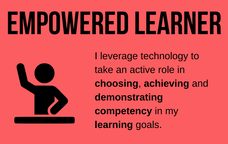 Creativity matters MORE THAN EVER in education. Check out the World Jobs Forum Future of Jobs Report. Creativity has moved from #10 to #3 on the list of skills we will need in 2020! I believe teaching is the most creative profession in the world. Think about it - we create ALL THE TIME! We design learning environments. We expertly craft plans to empower learners, (even for the ones who drive us crazy). We tell the story of our work to the community. We make a million creative decisions every day. Our learners will be entering that world where creativity is one the most essential skills. On our blog, we'll be celebrating CREATIVITY and how we're using technology to empower creativity in our classrooms. Use #onecreativething to twitter to share creative moments! The Empowered Learner ISTE standard is all about giving students CHOICE in how they demonstrate their knowledge in a variety of ways. Students are choosing to use iPads to create videos, audio recordings, animations and a whole slew of other creative projects. But this sometimes is messy and is DEFINITELY LOUD! :-) A few weeks ago, Sandy Gadberry, Wheatland MS Science Teacher and Apple Teacher, reached out on our SDOLTECH Schoology Group for help in solving this problem: 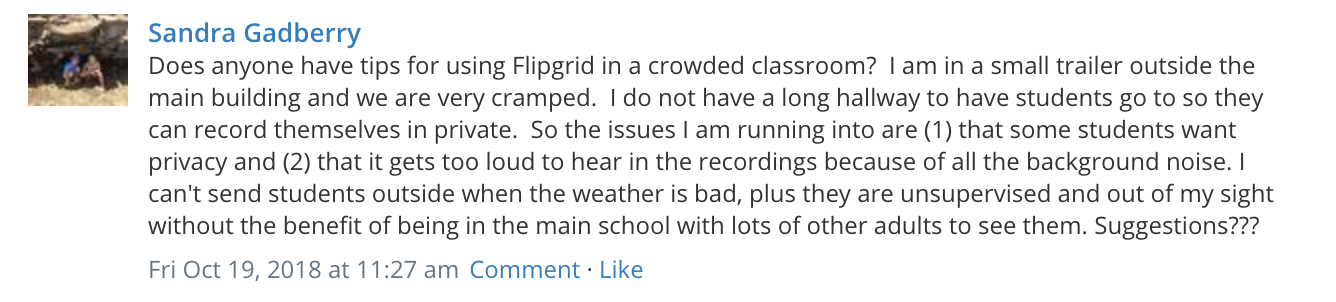 Our collective group responded with some ideas and Sandy and her students found a great, creative solution!! iPad RECORDING STUDIOS!! The kids love them! Kudos to Sandy and her students! Way to use creativity to solve a problem! We're headed over to try them out soon! What have you been creating? Share in the comments! by Jess Garrigan
It's the first week of school. New students. Names to learn. Relationships to build. Calls to makes. Lesson plans to write. So much coffee to drink. Bulletin boards to decorate. Oh. And there's that cart full of brand new iPads...what to do? what to do? Maybe if I ignore them they will go away? Nope. One of the questions Wes and I get all the time is, "how to I set up my classroom so technology WORKS?" By "works", educators might mean "how the heck do I get these laptops to stop shutting off?" OR "how can I get the best, most exciting, engaging, creative innovative, INSPIRED learning happening in my classroom? (We love question number 2!) The best advice: OWN IT! Don't leave it up to chance. Think strategically about how to provide clear instructions, build classroom customs and recruit our learners and your colleagues to support all along the way. You have tools at your fingertips that have the power to revolutionize how our learners engage in content. iPads are SUPERPOWER tools that can be unwieldy if we don't harness their power! The great news is: like the Avengers, we are a superpower team! (Insert "Together We Can" here.) Check out these top 5 classroom management tips! Share your own ideas of how your classroom will be a place for empowered, creative digital learning in the comments below! 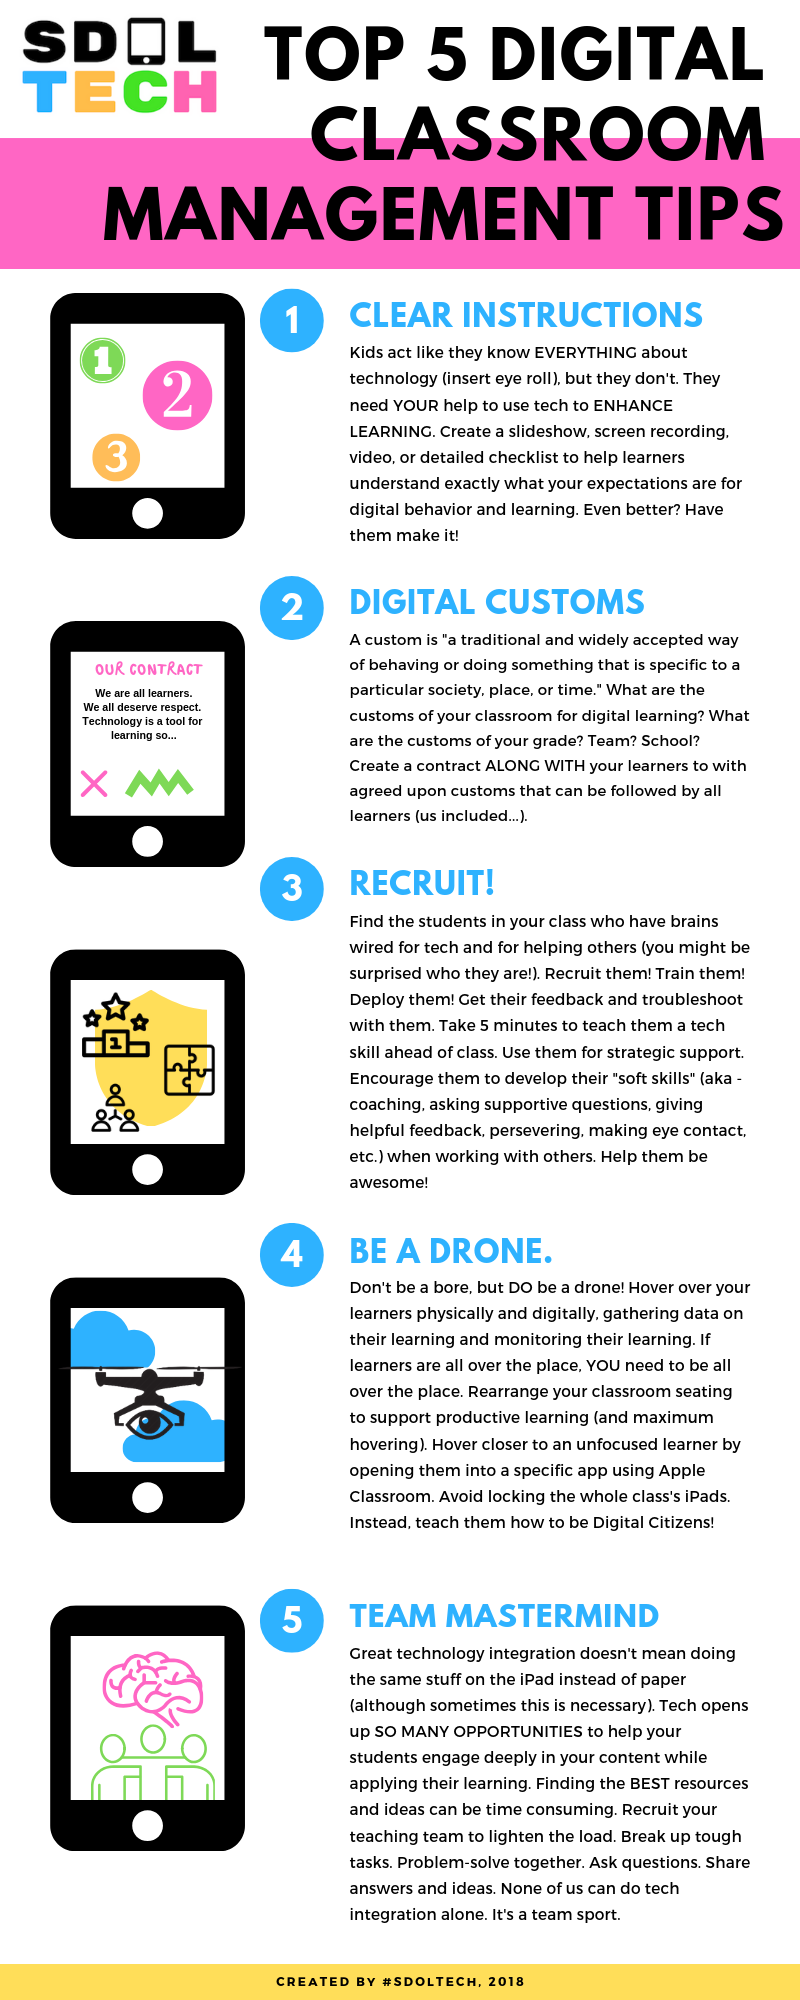 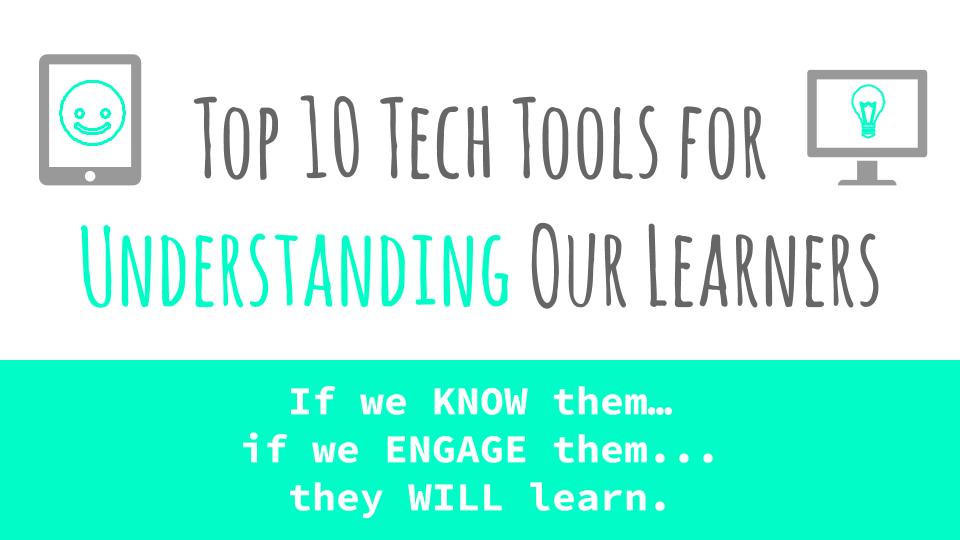
This year the SDOL instructional coaches and I are working on defining professional learning that is beyond mere compliance. We're working on curating and crafting online professional learning (using Schoology as a platform) that provides our teachers with respect for their time as professionals, autonomy, voice, and choice. Before we get into the messy, creative work of designing personalized online professional learning, we need to stop and think hard about what we know about our learners. What are their strengths? What do they need? What will get them most engaged in the process of individual growth?
We started this process by pulling together our Top 10 Tech Tools to help us better understand ("assess") our learners. Although many of these tools aren't new to us, we wanted to take a moment to pull them together and start thinking about how we can both gather information about our learners and rediscover tools that can infuse our online professional learning courses with more interactivity. No more "read the article. answer the questions. discuss" professional learning. It's not good enough. We have great teachers who we expect to support great students; our staff deserves endless opportunities to create, investigate, share, collaborate, and feel inspired and respected as they work on their professional growth. So. If we really understand the learners we are working with we can plan professional learning that truly engages them in their own process of growth = we all learn. It's what we believe about students. It's why we leverage tech. It's why we craft learning environments that support ALL learners. If we expect teachers to customize learning for kids, why wouldn't we do the same for adults? Right? We've got to start with understanding. We need to get to know our learners. Check out the secondary instructional coaches' Top 10 Tech Tools for Understanding Our Learners Google Slides! Share your own faves in the comments! Thanks to Fritz, Destiny, Joel, Darina, Kelly, and Chris for their help! 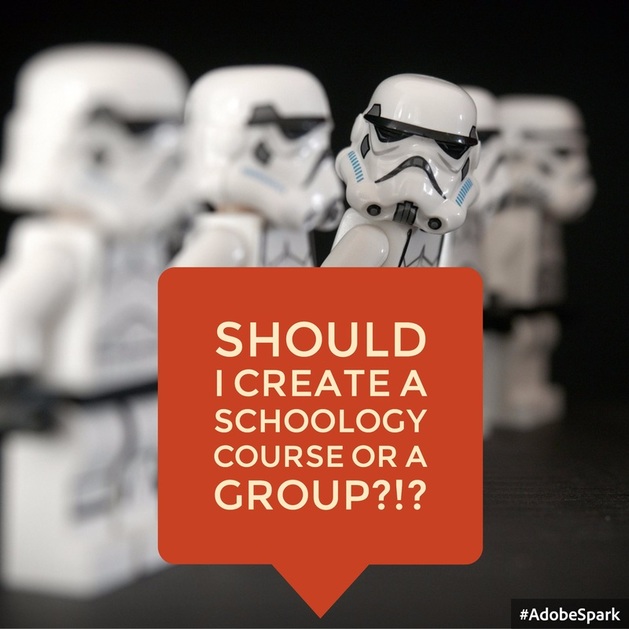 I've been getting this question a ton the past month. The confusion is understandable. Courses and groups look eerily similar in Schoology. It's definitely important to figure out which is which before you start inviting others and building materials or resources. Here are the basics to help you decide which is best for you! Simply put: courses are for instruction; groups are for collaboration. COURSES Your student courses have already been set up for you. Whether you’re using Schoology or not, your students can see your course. This is because they are synced with eschool. If students are added or withdrawn, the changes are made to your course roster. The same classes you have in eschool are represented as courses in Schoology. You cannot add or remove students from your Schoology courses without having the change made in eschool. You can create or join PD courses. These will be a self-guided e-learning experience. The students in your course have access to all the materials you post for their learning and can interact through assignments and discussions. Other teachers cannot see your content automatically, so if you'd like a colleague have access, you'll need to add them manually as an "admin." You can choose whether to "publish" instructional materials to students immediately or on a determined date. With a COURSE, you CAN...
GROUPS Unlike courses, groups are NOT synced with eschool. Therefore, they are NOT created automatically for you. YOU can create groups for ANYTHING and add or share the access code with whomever you want to collaborate! Groups are great for professional learning, team meetings, PLCs, book groups, collaborative lesson planning, shared learning goals/scales, student organizations, committees, anything you want everyone to participate in together! With a GROUP, you CAN...
+5 Points - Navigating the Groups & Courses Tabs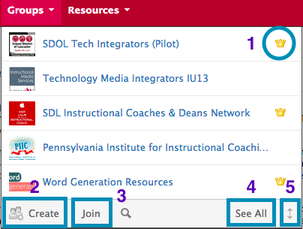 1: Crown = You're admin! You can add others! 2: Create a new group/course 3: Join a group/course using an ACCESS CODE 4: See All - here's where you go to delete a group or find archives of courses 5: ORGANIZE! Click here for a list of your groups/course. Too many? Put the most frequently used up top! How are YOU using Schoology groups or courses to enhance learning collaboration??
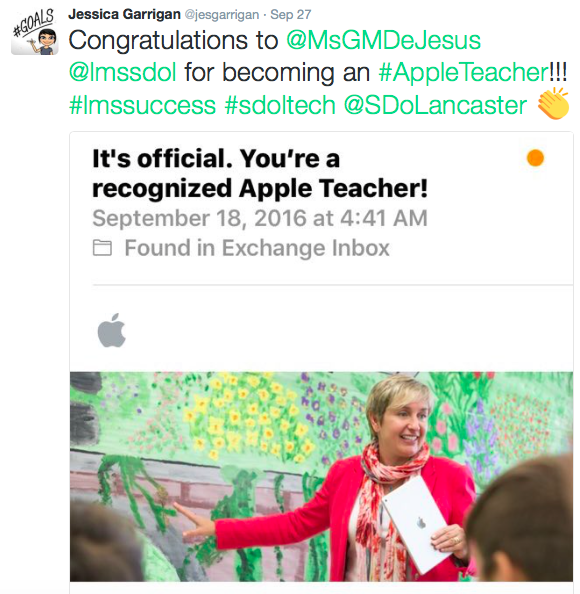
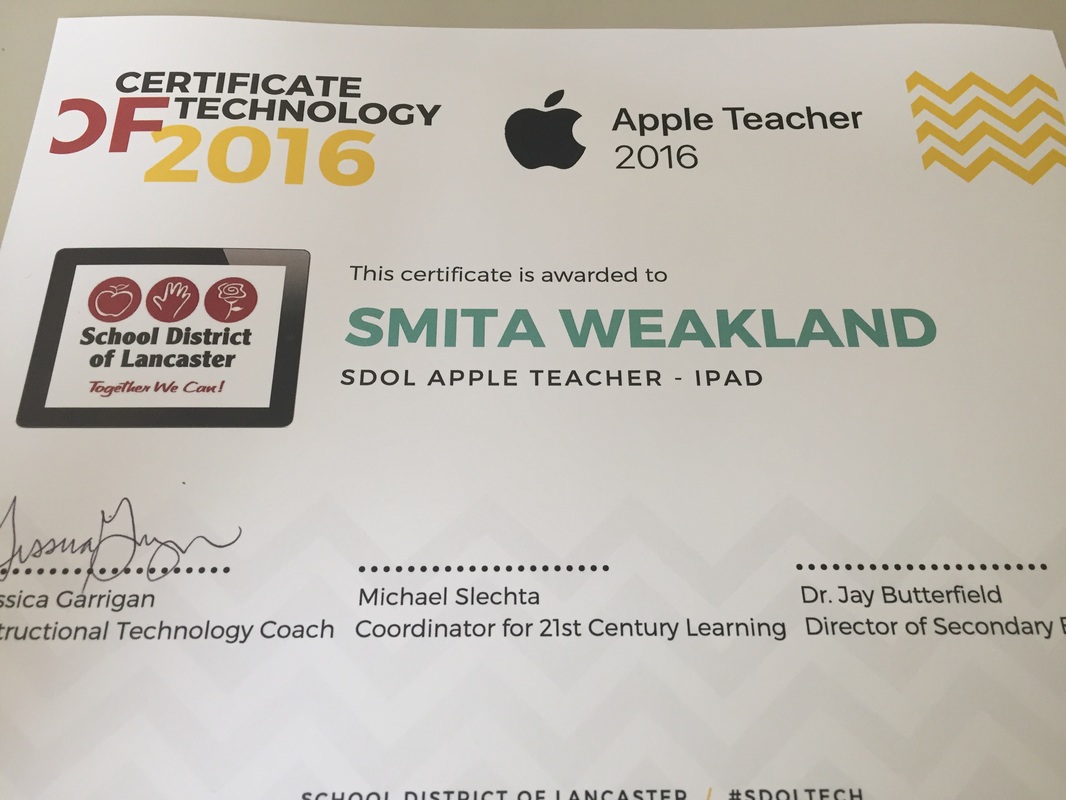
 At the beginning of September, Apple released a self-guided learning course designed just for teachers. All you need is an Apple ID and a few hours to Become an Apple Teacher. Educators can choose from either the Mac or iPad collection of badges. Each collection includes 8 badges to earn. I completed the iPad badge a few weeks ago to make sure I was ready to support the 6th and 8th grade iPad Pilot this year and I've challenged all of our year 1 pilot teachers to do it too! The iPad collection offers badges in iPad basics, Pages, Keynote, iMovie, Numbers, GarageBand, iPad Productivity, and iPad Creativity. You can choose how you navigate through the learning. Apple created these gorgeous interactive iBooks for learners who need a really guided experience or you can just go to the down and dirty "how to" if you want a more streamlined learning process. OR, if you're like me, you can just to dig into the app before taking a stab at earning the badge! 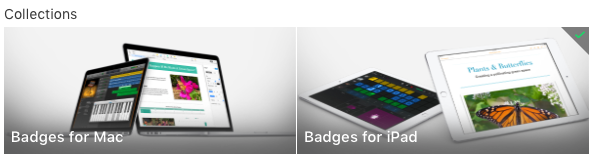 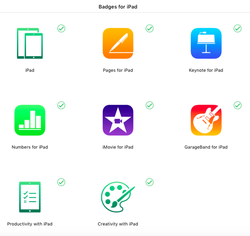 To earn each of the 8 badges, you need to get at least 4/5 on the quiz. The quizzes are challenging, but common sense if you have used the app before. I struggled most with GarageBand because that's not an app I use very often, but I was glad the course forced me to hone my skills. Now I can show off my beats to my musician brothers! The nice things is you can easily take the quizzes as many times as you need to and go back into the iBook or How To to check your learning. and try again. You get all the warm fuzzy feelings of rescuing Princess Peach from King Koopa each time you earn a little badge. Once you complete all 8 badges, Apple will send you a congratulations email with your badge included! Level UP!! It's been exciting to see some of our pilot teachers earning their badge this week! Two teachers, Gidget and Smita, and one of our Digital Print Resource Specialists, Lisa, are already done! Other teachers have been working through it. For some, it's been a fun and painless process. For other who are just beginning with Apple products, it has been challenging. The Apple Teacher Program is allowing me the opportunity to see where everyone is at and customize our monthly time together to meet everyone's needs. It's also been great to see how everyone is supporting one another in getting their badges. As an instructional coach, I learned quickly that badging and micro-creditentials are an engaging way of setting the learning target and allowing adults the freedom to learn in their own way. The Apple Teacher Program is helping us create a culture of tech skill, collaboration, and a vision for the integration of tech in our classrooms! Go Gidget, Smita & Lisa!!!! Become an Apple Teacher too!!
|
Wes EmletCoordinator of Instructional Technology Gidget Dejesus Instructional Technology Coach
@MsGMDeJesus Tara Morcom Instructional Technology Coach
@TaraMorcom Categories
All
Archives
August 2021
|


 RSS Feed
